How to Apply Contact Paper to Cabinets
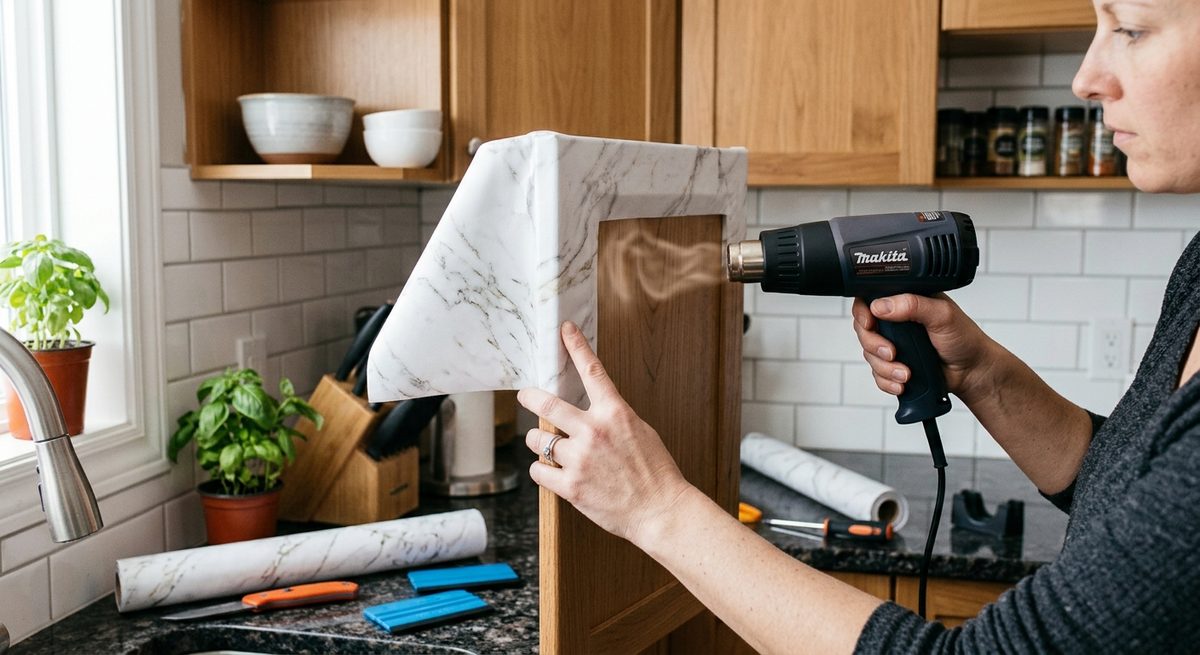
You can refresh cabinets with contact paper in an afternoon. Take the doors off and remove the handles, clean and degrease every surface so the film bonds, cut each piece with a 3–4 inch lip to wrap the edges (don't cut it exact — exact cuts peel up), then peel the backing gradually and smooth from the centre outward. It's a temporary, renter-friendly finish that, applied carefully, removes later without damaging most surfaces.
Guidance is compiled from the film maker's application tips and reputable home-improvement sources, cited in Sources.
- Degrease first — kitchen grease is the #1 reason cabinet film lifts.[2]
- Wrap the edges, don't cut to size — leave a 3–4″ lip.[5]
- Smooth centre-out; prick trapped bubbles with a fine needle.[1]
- It's heat- and water-resistant, not proof — keep it from direct heat and standing water.[3]
- Removable from most surfaces with slow peeling and gentle heat.[3][4]
Is contact paper good for kitchen cabinets?
Yes — as a temporary, budget makeover, especially for renters who can't paint. It's a thin self-adhesive vinyl film that bonds to a smooth, clean, dry surface.[2] The trade-off is honesty: it's not a permanent refinish, and it shows its limits around heat, water and heavy wear. Treat it as a reversible style update, not a replacement for painting or re-facing.
What you'll need
- Contact paper (measure first — see Step 2)
- A degreasing cleaner or glass cleaner, plus a clean cloth
- Tape measure and pencil
- Utility knife or sharp scissors
- A smoothing tool — plastic scraper, squeegee or an old gift card
- A hair dryer, for corners and any grooves or raised profiles[1]
- A screwdriver, to remove doors and hardware
Step 1 — Remove doors and hardware
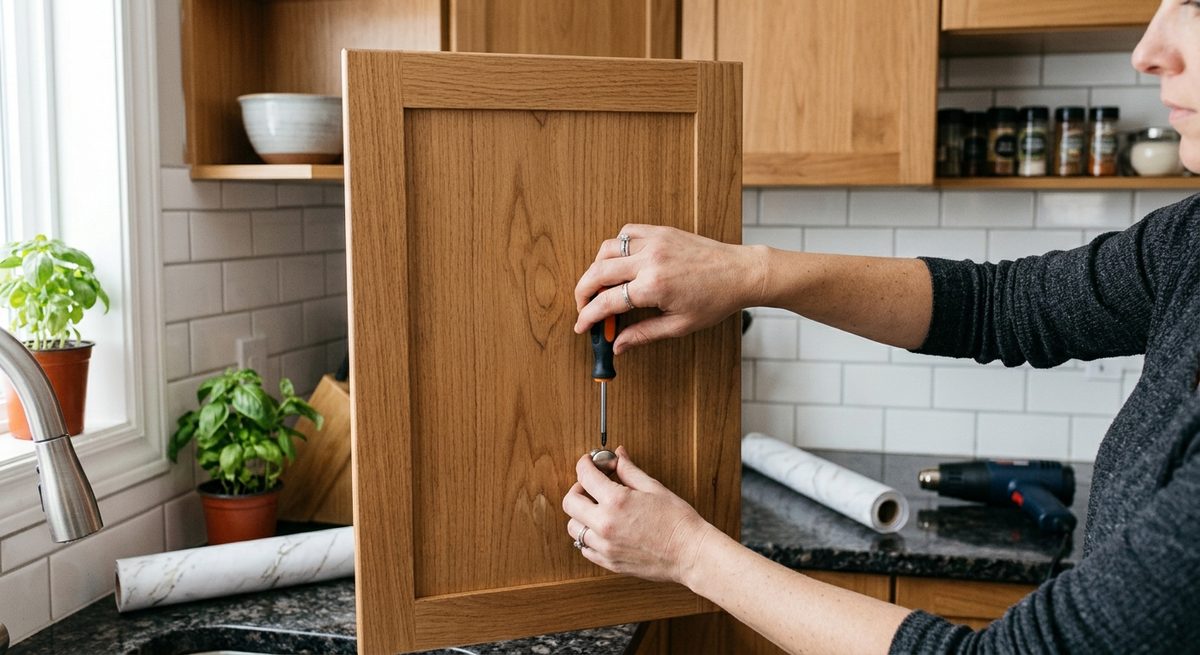
You can cover cabinets in place, but you'll get far cleaner edges by taking the doors off and unscrewing the handles and knobs. Label each door so it goes back in the same spot, and lay the doors flat on a table — gravity helps while the film sets.
Step 2 — Measure and buy enough
Measure every surface you plan to cover — door fronts, and the sides or edges if you're wrapping them — and buy enough to cover them all with margin to spare.[5] Running out mid-project risks a slightly different batch or trouble lining up veining across pieces.
Step 3 — Clean and degrease (don't skip this)
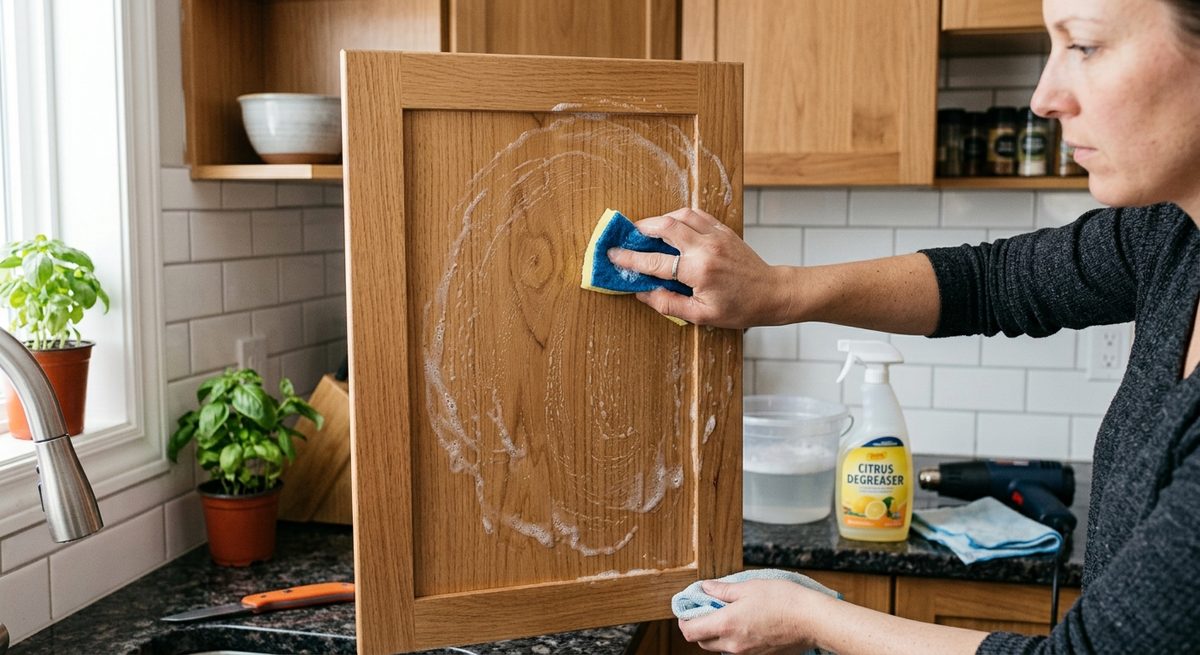
Contact paper only bonds to a smooth, clean, dry surface.[2] Cabinets collect cooking grease even when they look clean, and grease is the usual reason an edge lifts days later. Wipe every surface with a degreaser or glass cleaner, then dry it fully — leftover moisture weakens the grip.[5]
Step 4 — Cut with an edge "lip" (the pro trick)
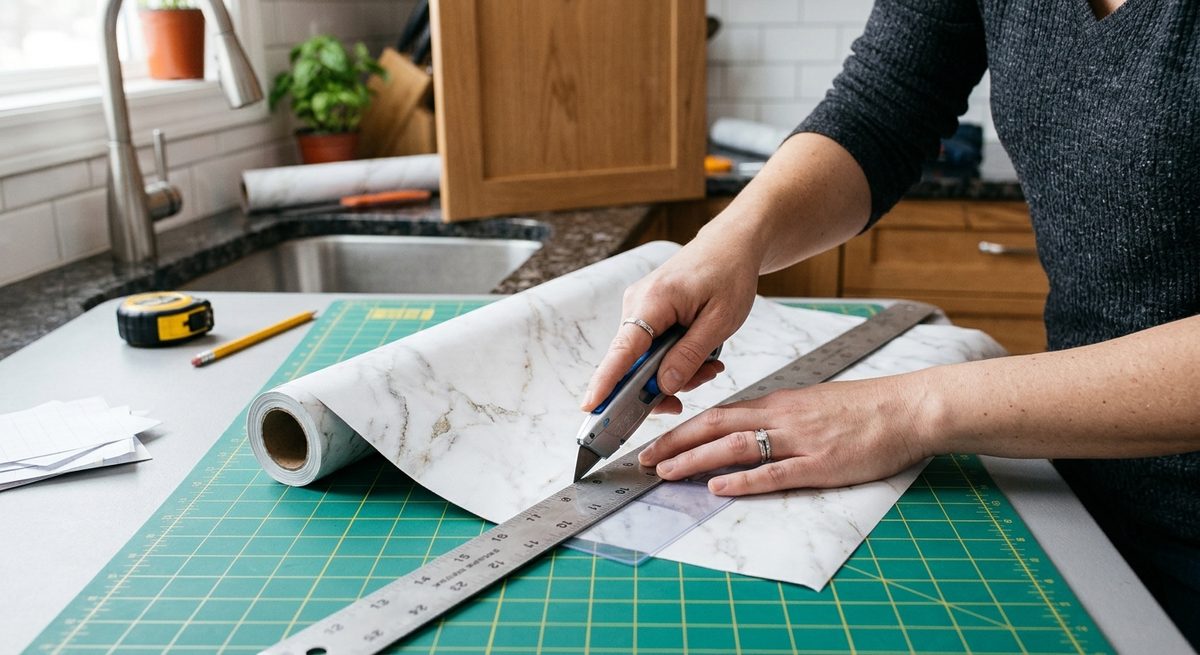
Here's the tip that separates a clean job from a peeling one: don't cut the film to the exact size of the door — cut it with a 3–4 inch lip to wrap around the edges and pull tight.[5] One renovator who cut pieces exactly found "it kept peeling up."[5] The wrap-around tension keeps edges down over time. If your roll has a printed grid on the backing, use it for straight cuts.[1]
Step 5 — Apply: dry method or wet method
Dry method (manufacturer default): Peel the backing a little at a time — never all at once — and lay the film down section by section, smoothing from the centre outward so air escapes to the edges.[1] Because full adhesion takes several hours, the film stays repositionable, so you can lift and realign it.[1]
Wet method (great for beginners and large flat doors): Lightly mist the clean surface with glass cleaner, apply the film, then scrape out the bubbles and squeegee the cleaner out from under it.[5] The liquid buys you time to slide the film into place. Two cautions: dry any excess cleaner at the edges so the adhesive still grips,[5] and on a hard edge you can't wrap, skip the cleaner there.[5] Don't reach for spray adhesive — it "left a film everywhere," including on nearby surfaces.[5]
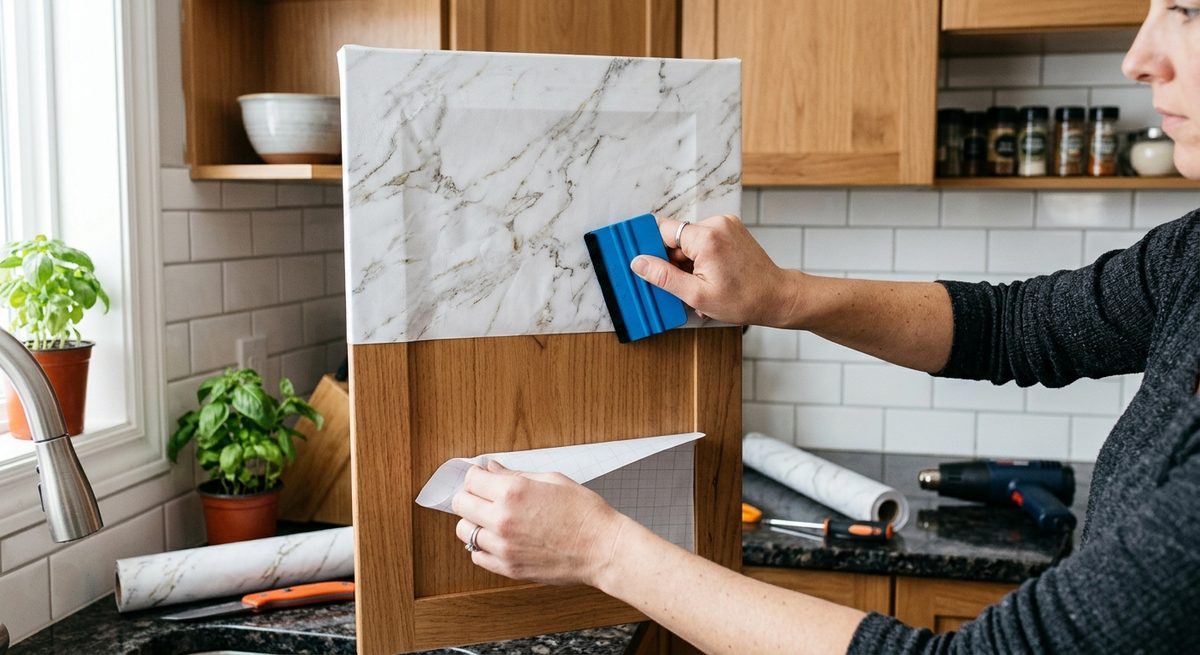
Step 6 — Beat the bubbles
Smooth continuously from the centre out as you go. For a trapped bubble, prick it with a fine needle and press the air out through the pinhole — nearly invisible, and better than peeling the whole sheet back.[1] Larger wrinkles can be lifted and re-laid while the film is still repositionable.[1]
Step 7 — Wrap edges, corners and grooves
Fold the lip over each edge and press it tight to the back. For raised profiles or Shaker-style grooves, warm the film with a hair dryer on low to make it pliable, then press it into the contour so it conforms instead of tenting.[1] Trim excess with a utility knife held flat for a clean line. Rehang the doors and reattach hardware once everything's pressed down.
How well does it hold up on cabinets? (The honest part)
Set expectations correctly and you won't be disappointed. Contact paper (per d-c-fix, via Bob Vila) is heat-resistant to about 170 °F and water-resistant — but not heatproof or waterproof.[3] For cabinets that means:
- Cabinets next to the stove or oven take direct heat that can loosen the adhesive over time.[3]
- Around the sink, standing water and steam work against it; dry spills quickly.
- Avoid abrasive scrubbing, which scratches the surface.[3]
- The film "can peel at the edges, bubble, or tear if scraped or cut," and it isn't meant to compete with a painted or laminate refinish for durability.[3]
For low-wear doors, open shelving, a bathroom vanity, or a rental you'll reverse later, it holds up well as a temporary finish.
How to remove contact paper from cabinets later
Removal is the feature that makes this renter-safe. Peel from a corner; if it resists, warm it with a hair dryer to soften the adhesive, pulling slowly while you heat.[3][4] For sticky residue, scrape gently or use an adhesive remover, then wipe with mild soapy water and dry.[4] Note that wallpaper remover won't work — contact paper is water-resistant.[4] On older paint or delicate finishes, test an inconspicuous spot first, since heat and removers can affect some finishes.[4]
FAQ
Does contact paper ruin cabinets?
No, not when removed carefully — it comes off most surfaces such as wood and laminate without damage, and gentle heat helps release stubborn spots.[3][4] Test a hidden area first on older finishes.[4]
How do you get contact paper to stick to cabinets?
Degrease and fully dry the surface first,[2] cut with a wrap-around lip instead of exact size,[5] and smooth from the centre out. Grease and moisture are the main reasons it won't stick.
Should I use the wet or dry method on cabinets?
The dry method is the manufacturer default and works for most doors.[1] The wet glass-cleaner method is more forgiving on large flat doors because it lets you slide the film into place — just dry the edges afterward and skip the liquid on edges you can't wrap.[5]
How long does contact paper last on cabinets?
There's no fixed lifespan — it depends on heat, moisture and handling. Away from direct heat and standing water, treated as a temporary finish, it lasts well; near the stove or sink it loosens sooner.[3]
Can you put contact paper on grooved or Shaker cabinets?
You can, but raised profiles are harder. Warm the film with a hair dryer and press it into the grooves so it conforms; expect more effort and less durability on heavily contoured doors.[1]
Is contact paper on cabinets a good idea for renters?
Yes — it's reversible and removes from most surfaces without damage when done carefully, which makes it a popular no-paint rental update.[3]
Sources
Research-first: the film maker's own application tips and FAQ for method and surface rules, plus reputable home-improvement sources for durability, the wrap-edge technique and removal.
- d-c-fix — Application tips for adhesive films (peel gradually, smooth centre-out, needle for bubbles, repositionable several hours, hair dryer for curves). d-c-fix.com
- d-c-fix — FAQ & useful information (smooth, clean, dry surface requirement). d-c-fix.com
- Bob Vila — Updating surfaces with contact paper (heat-/water-resistant not proof; trivets & cutting boards; removes without damage when careful). bobvila.com
- Hunker — How to remove contact paper from wood (hair-dryer/heat method, residue removal, wallpaper remover won't work, test finishes). hunker.com
- Chris Loves Julia — Renter DIY: marble contact paper on shelves (wet/glass-cleaner method; cut a wrap-around lip; exact cuts peel; avoid spray adhesive). chrislovesjulia.com