How to Install a Peel-and-Stick Backsplash
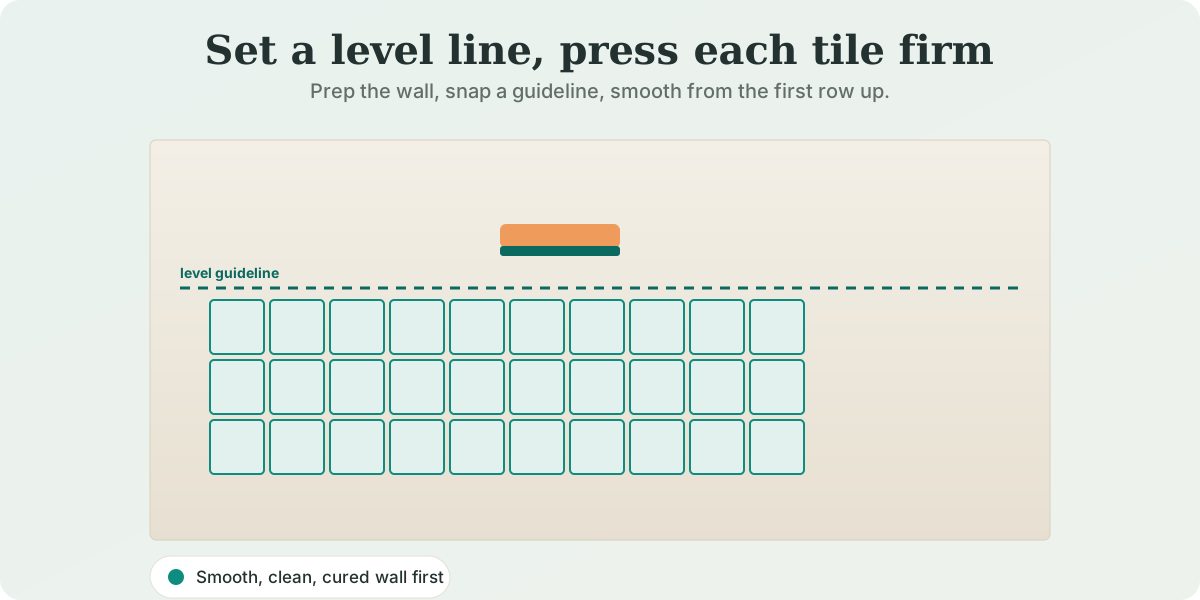
▲ Illustration — pressing a vinyl tile onto a level guideline with a plastic smoother.
Installing a peel-and-stick backsplash comes down to a smooth, clean, cured wall and a careful first row. Degrease the wall and let it dry, snap a level guideline, set the first tile lightly, then press each tile firmly with a smoother, overlapping the printed grout lines on vinyl tiles. Cut around outlets with the power off, keep clear of the stove (under 49 °C/120 °F), caulk the perimeter, and let it cure about 48 hours. It's water-resistant, not waterproof.
Guidance is compiled from manufacturer installation guides and cited in Sources. Some links may be affiliate links (policy).
Step-by-step: vinyl backsplash
Check the wall is smooth, clean, flat and firm
Peel-and-stick tile needs a smooth, non-porous surface — painted drywall, smooth ceramic, or an acrylic panel. Skip textured, unpainted, porous or shower walls.[1]
Let fresh paint fully cure first
If the wall was recently painted, wait for it to cure — brands say about 3 weeks, and WallPops advises at least 4 weeks (or longer per the paint maker).[2]
Degrease and clean the wall, then let it dry
Clean off cooking grease and dust with a degreaser such as TSP (or warm water only, per WallPops — with no soap residue), and let it dry completely.[1]
Measure, dry-lay, and snap a level guideline
Measure the area and lay the design out first. Snap a level horizontal line and a plumb vertical line as your start guide — or use a level countertop as the baseline.[5]
Set the first tile lightly on the line
Peel back part of the adhesive backing and place the first tile on your guideline, pressing lightly so you can still adjust it. Avoid touching the adhesive.[4]
Confirm placement, then press the whole tile firmly
Once it's aligned, remove the rest of the backing and press the entire tile down with a plastic smoother or laminate roller, working the edges and grout lines.[2]
Seam each tile to the last
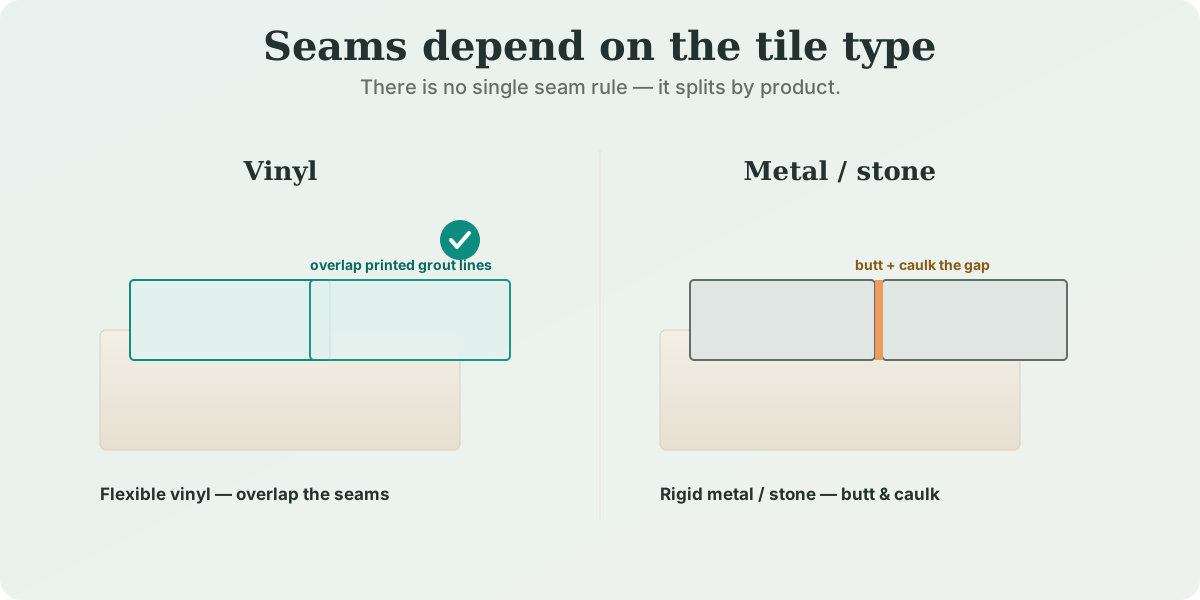
For flexible vinyl tiles, evenly overlap the printed grout lines so the seam disappears. (Rigid metal or stone tiles are the exception — they butt edge-to-edge and the gap is caulked, not overlapped.)[2]
Measure and cut for edges, corners and outlets
Trim with a straightedge and a sharp utility knife or scissors (tin snips for metal tile). Turn off the power before cutting around any outlet — see our outlet guide.
Keep clear of the stove and don't overheat it
Leave a clearance above a cooktop (brands say 8–15 inches) and keep the surface under 49°C (120°F); these tiles are not rated for direct high heat.[1]
Caulk the perimeter with silicone
Seal the joints where the tile meets the countertop, sink and edges with a silicone caulk — especially near water, since the tile is water-resistant, not waterproof.[1]
Let it cure about 48 hours
The adhesive reaches its full bond in roughly 48 hours. Keep it out of direct water, and don't scrub or stress the seams until it's cured.[1]
A note on seams (why brands differ)
There's no universal seam rule — it splits by product type. Flexible vinyl tiles are designed so the printed grout lines overlap for a seamless look (WallPops: "evenly overlap grout lines"; Tic Tac Tiles: "slightly overlapping the grout lines").[2] Smart Tiles butt edge-to-edge while the printed characters overlap along the grout lines so they hide.[1] Rigid metal/stone tiles butt and you caulk the gap. No manufacturer publishes a numeric overlap — follow your product's own guide.
Heat, water and the temperature cap
Keep tiles clear of direct flame and heat: Smart Tiles set a hard cap of 49°C (120°F) and an 8-inch zone behind an unprotected stove; other brands ask for 12–15 inches.[1][4] None of these tiles is waterproof or shower-rated — most brands "strongly advise" against direct water contact, so caulk the perimeter and keep it out of the spray zone.[1]
Before you buy: how many boxes?
Measure your backsplash and get the exact number of boxes, waste included.
Tools & supplies
Manufacturers list a straightforward kit for vinyl tile: a tape measure, level and pencil, a straightedge, a sharp utility knife or scissors, a plastic smoother or roller, a degreaser, and silicone caulk.[2]
- Plastic smoother / laminate roller
- Sharp utility knife + straightedge
- Degreaser (e.g. TSP)
- Silicone caulk
Affiliate disclosure: HowToApplyNow may earn a commission from qualifying purchases made through links on this page, at no additional cost to you. Products are added only after we vet the program and the terms — and only when a specific product's own instructions support their use for this task.
FAQ
Do you need to prep the wall before a peel-and-stick backsplash?
Yes — the wall must be smooth, clean, flat and firm. Degrease off cooking grease (TSP or warm water), let it dry, and if it was freshly painted, wait about 3–4 weeks for the paint to cure.
Do peel-and-stick tiles overlap or butt together?
It depends on the type. Flexible vinyl tiles overlap along the printed grout lines for a seamless look; rigid metal or stone tiles butt edge-to-edge and the gap is caulked. Follow your product's own guide.
How far from the stove can you put it?
Keep clearance above an unprotected cooktop — brands say 8 to 15 inches — and don't let the surface exceed 49 °C (120 °F). These tiles aren't rated for direct high heat.
How long before it's fully stuck?
The adhesive reaches full bond in about 48 hours. Caulk the perimeter, keep it out of direct water, and avoid stressing the seams until it's cured.
How do you remove a peel-and-stick backsplash?
Warm each tile with a hair dryer to soften the adhesive, then peel it back slowly at a low angle and wipe off any residue with a mild adhesive remover. Go gently on painted drywall so you don’t lift paint — full method in our peel-and-stick tile removal guide.
Can you put peel-and-stick tile on a kitchen backsplash?
Yes — a kitchen backsplash is the most common use, as long as the wall is smooth, clean, flat and firm (painted drywall, smooth ceramic or an acrylic panel). Degrease off cooking grease first and let fresh paint cure about 3–4 weeks before you start. Follow the step-by-step above.
Does a peel-and-stick backsplash hold up in a kitchen?
It holds up when you respect two limits: keep clearance above the cooktop (brands say 8–15 inches) and the surface under 49 °C/120 °F, and treat it as water-resistant, not waterproof — caulk the perimeter at the countertop and sink so water can’t get behind it.
Sources
Research-first: manufacturer installation guides/FAQs; one third-party writeup labeled secondary. Steps not stated by any manufacturer (e.g. "peel a few inches at a time," "smooth from the center out") are deliberately omitted.
- Smart Tiles — FAQ & installation (suitable/unsuitable surfaces; 21-day paint cure; TSP degrease; 49°C/120°F cap + 8-in stove zone; silicone caulk; 48-hr bond; not for direct water). thesmarttiles.com
- WallPops — How to install peel & stick backsplash (smooth/dry/clean/firm; 4-week paint cure; warm-water clean; countertop/level guide; overlap grout lines; utility knife + straightedge; 15-in above range; tools list). wallpops.com
- StickGoo — Installation + tips (degrease before start; plastic smoother/roller; scissors/craft knife; near water use trim + caulk). stickgoo.com
- Yipscazo — Installation (stainless ruler; TSP; fold back half the backing, align to guideline; press firmly; 48-hr bond; 12-in/30-cm from stove). yipscazotile.com
- Aspect — Installation (measure + dry-lay; chalk level/plumb reference lines; metal/stone = both-side film, oil-based primer, butt + caulk, saw/tin-snips; 24-hr before heat). aspectideas.com
- Tic Tac Tiles — Backsplash install writeup — secondary/attributed (start from a corner; slightly overlap grout lines; finish edges with molding or silicone). sgcliving.com
Where brands split (seam overlap vs butt; paint-cure 3 vs 4 weeks; stove clearance 8–15 in), the split is shown and tied to product type, not resolved into one false rule. Sources last reviewed: August 2026.