Peel-and-Stick Floor Tile: Does It Work & How to Install It?
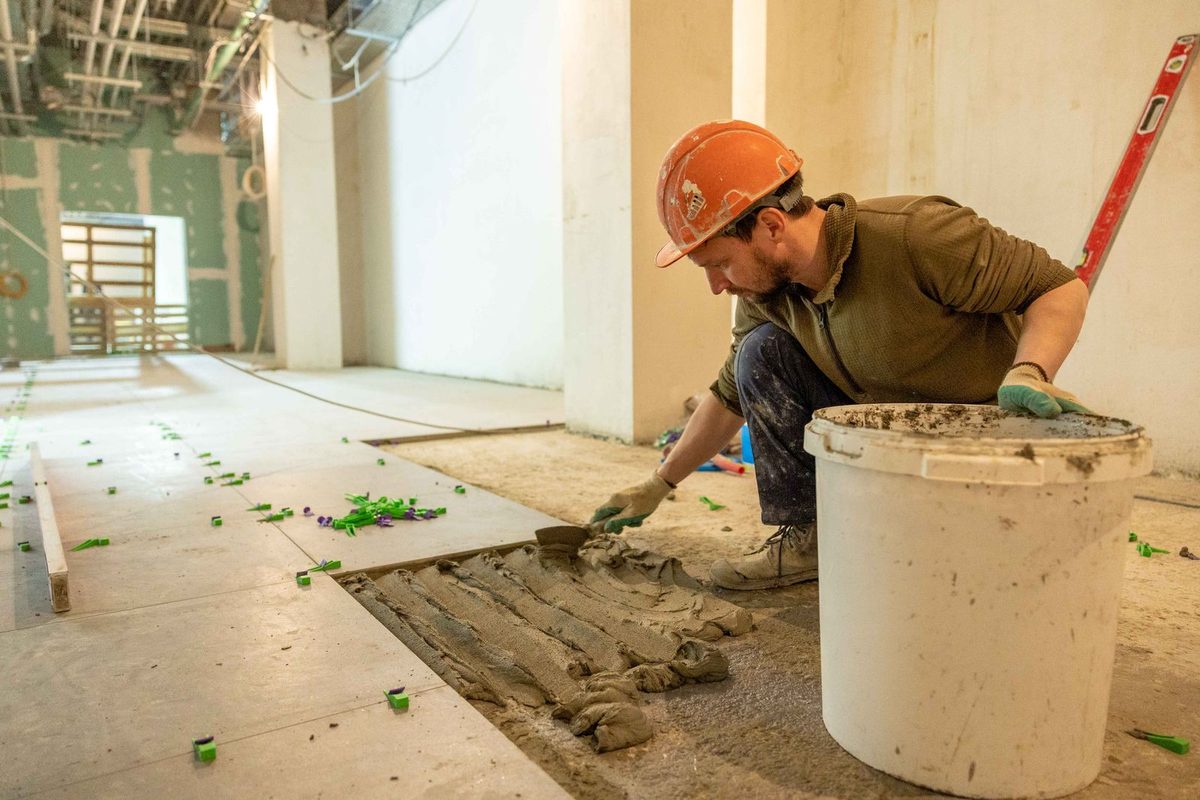
Peel-and-stick (vinyl) floor tile is a genuine budget floor, but it has real rules the wall version doesn’t. It needs a clean, smooth, flat, dry subfloor — never over loose, uneven, heavily textured flooring or radiant heat.[1] Acclimate the tiles 48 hours, snap centre guidelines and dry-lay from the middle out, then peel and press firmly (you can’t reposition once it’s down), and roll the floor.[1][2] It’s water-resistant, not waterproof, and more prone to sharp-object damage than hard tile.[2]
Guidance is compiled from manufacturer instructions and reputable home-improvement sources, cited in Sources.
Does peel-and-stick tile actually work on floors?
Yes — this is a real category (self-adhesive vinyl floor tile), and it’s one of the easiest floors a DIYer can lay: no heavy tools or special skills, and low cost (from roughly $0.50/sq ft for basic tiles up to $2–$5 for luxury vinyl).[2] The trade-offs: vinyl is water-resistant, not fully waterproof, and it’s more vulnerable to sharp-object damage than ceramic or stone — but individual damaged tiles are simple to swap out.[2]
Which subfloors work (and which don't)
The surface must be clean, smooth, flat and dry — remove grease, dirt, wax, oils and any UV coating first.[1] It can go over "virtually any subfloor" if it’s properly prepped,[2] but the manufacturer is clear about what to avoid: don’t install over loose or uneven flooring, heavily textured flooring, or radiant-heated floors, and don’t add any extra adhesive.[1] On concrete, use a bond-enhancing primer and don’t lay over concrete with excessive moisture or alkalinity.[1] Some makers recommend primer only on porous surfaces like plywood — check your product.[2]
Step 1 — Clean and prep the subfloor
Make any repairs, then clean thoroughly: remove dirt and loose particles that cause bumps or block adhesion.[2] Strip grease, wax, oils and UV coatings so the adhesive meets bare, sound floor.[1]
Step 2 — Acclimate the tiles
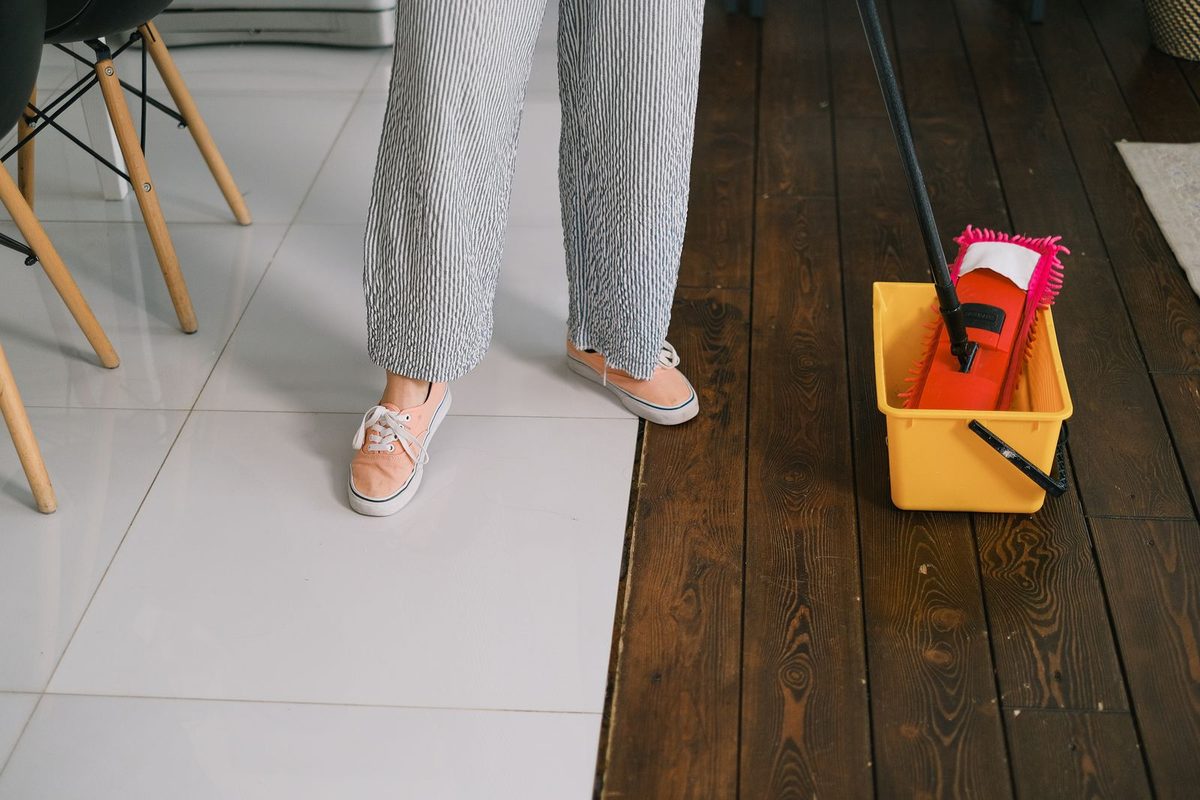
Lay the tile packages flat and let them sit 48 hours in a room at least 65 °F (18 °C) before you start.[1] This lets the vinyl reach room temperature so it doesn’t shrink or gap after install.
Step 3 — Find the centre and dry-lay
Snap perpendicular chalk guidelines to find the room’s centre, and — with the backing still on — lay tiles out from the centre toward the walls.[1] Check the outer edges: if you’d end up with thin sliver cuts at the walls, shift the whole layout so the border pieces are a decent width.[1]
Step 4 — Peel and press (no do-overs)
Starting at the centre, peel the backing and press each tile firmly into place — avoid touching the adhesive, since dust and oils weaken it.[1] Rotate each next tile to match the pattern and set it tight against the previous one, working one quarter of the room at a time in a step pattern.[1] Be deliberate: once a tile is pressed down it can’t be repositioned without damage.[2]
Step 5 — Cut the edges and roll the floor
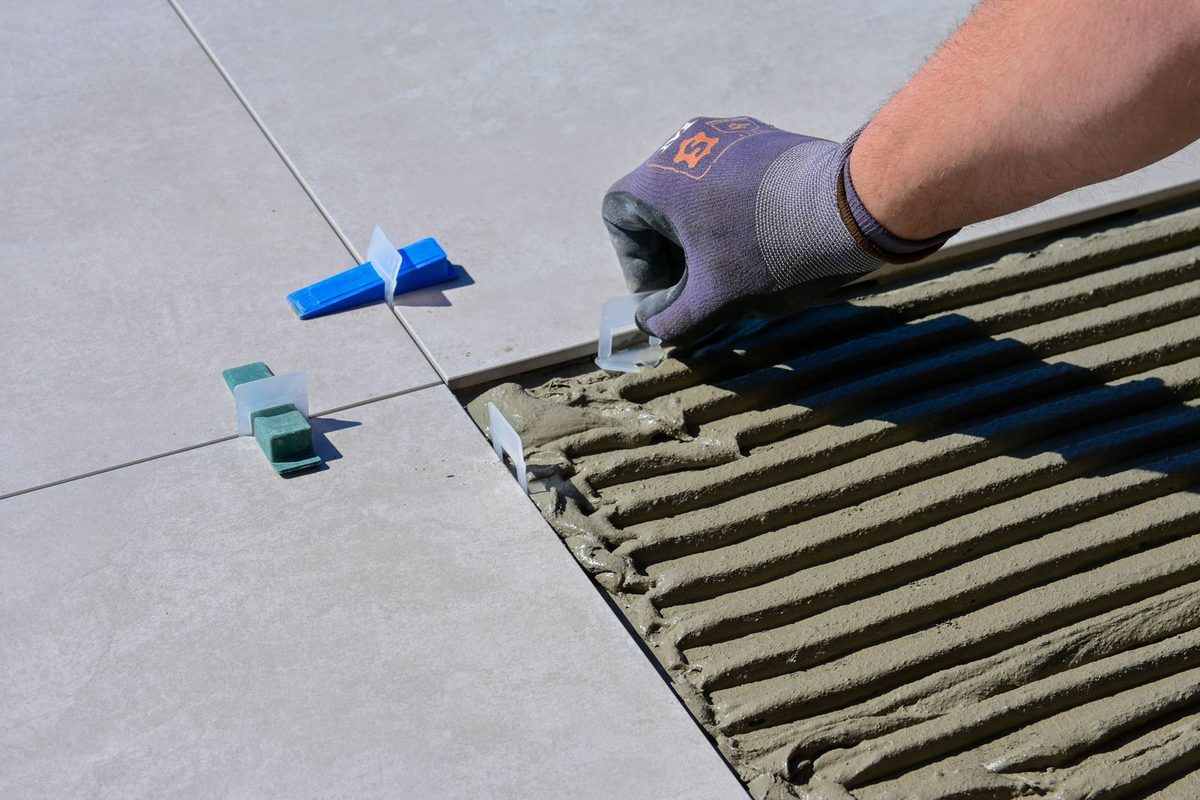
At the walls, trim tiles to fit with a straight edge and utility knife.[1] Then roll the entire floor with a 75–100 lb tile roller to strengthen the bond.[1] Leave room for expansion: lift and reinstall baseboards over the new tiles rather than butting tiles tight to the wall, which can lift from expansion pressure.[1]
Step 6 — Aftercare
Wait 5 days after install before cleaning.[1] Then use a vinyl floor cleaner — sweeping, vacuuming and light mopping are fine, but no detergents, soaps, bleach, wax or excess water.[1] Don’t soak-mop: water in the seams can weaken the adhesive and lift or curl the vinyl.[2]
How long does it last, and where does it fit?
It works in nearly any room, but kitchens and other high-traffic areas carry more risk of damage, and dragged furniture or dropped sharp objects are its main enemy.[2] A smart move: keep a few spare tiles, since replacing one damaged tile is easy.[2] It’s renter-friendly too, as long as removal is careful and you add no extra adhesive.[2]
FAQ
Does peel-and-stick floor tile really work?
Yes, as a budget DIY vinyl floor. It installs with no special tools and costs little, but it's water-resistant (not waterproof) and more prone to sharp-object damage than ceramic or stone.
What subfloor do you need for peel-and-stick floor tile?
A clean, smooth, flat, dry surface free of grease, wax and dust. Concrete needs a primer; avoid loose, uneven, heavily textured floors and radiant-heated floors, and don't add extra adhesive.
Do you have to acclimate peel-and-stick floor tiles?
Yes. Lay the packages flat for 48 hours in a room at least 65 F before installing, so the vinyl reaches room temperature and won't gap or shrink.
Can you reposition peel-and-stick floor tile after pressing it down?
No. Once a tile is pressed firmly it bonds and can't be moved without damage, so dry-lay the whole floor first and set each tile deliberately.
Is peel-and-stick floor tile waterproof?
No, it's water-resistant. It handles light mopping, but standing water or a soaking mop can seep into the seams and lift or curl the tiles.
Where shouldn't you use peel-and-stick floor tile?
Avoid radiant-heated floors, very hot or cold rooms (below 55 F or above 85 F), and outdoor spaces like sunrooms, porches and garages.
Sources
- WallPops / FloorPops — manufacturer install guide for peel-and-stick vinyl floor tiles (subfloor, acclimation, layout, rolling). www.brewsterwallcovering.com
- Hunker — peel-and-stick vinyl flooring — subfloor, water-resistance, durability, pros and cons. www.hunker.com