How to Apply Peel-and-Stick Wallpaper Without Bubbles
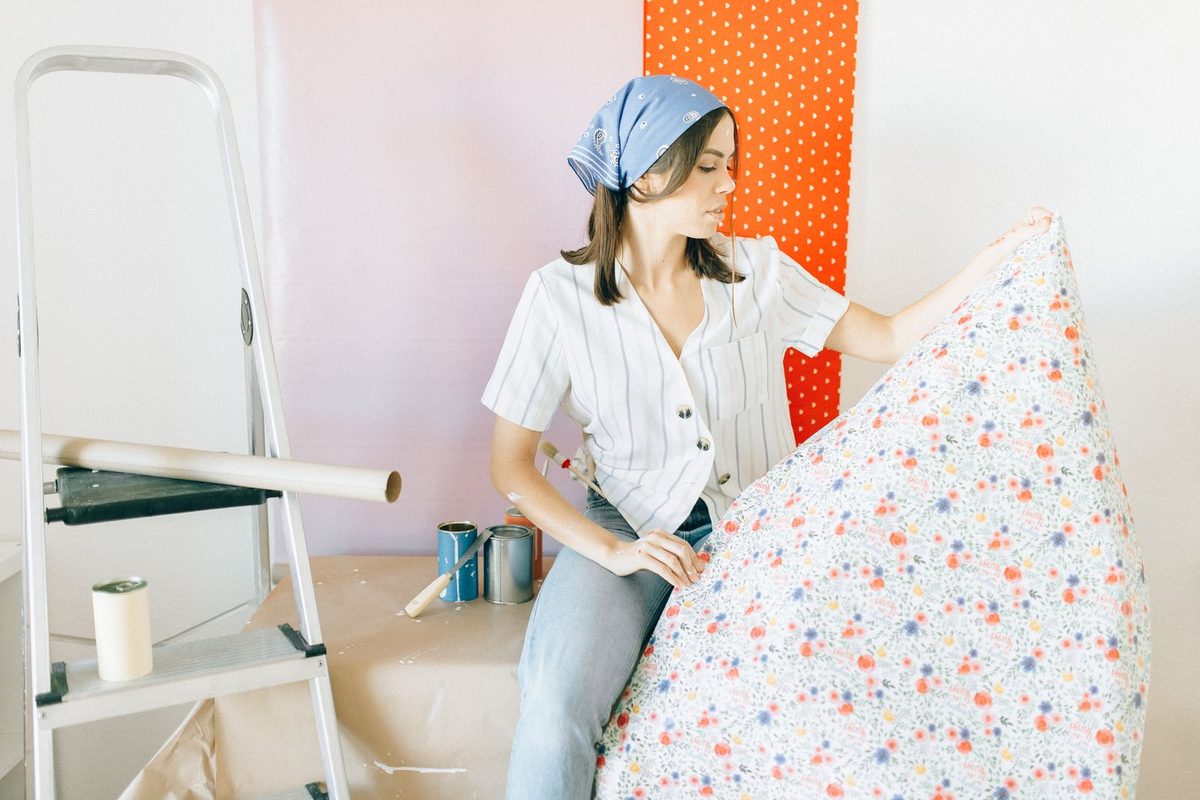
Peel-and-stick wallpaper goes up without paste, but a smooth result comes from prep and a plumb line, not luck. Start on a clean, smooth wall painted in satin or semi-gloss that has fully cured,[1] snap a vertical plumb line so your first panel hangs straight,[1] peel the backing a few feet at a time, and smooth from the centre outward with a squeegee, top to bottom.[1][2] Overlap seams about ¼ inch, release trapped bubbles with a pin, and trim with a sharp craft knife.[2]
Guidance is compiled from manufacturer instructions and reputable home-improvement sources, cited in Sources.
What you'll need
A tape measure, a level, a pencil and a straight edge, a sharp craft knife on a cutting mat, and a squeegee or smoothing tool.[1] A step stool and a second person make long panels much easier.[1] Peel-and-stick needs no extra adhesive — if your paper is "unpasted," that's a different product that does.[2]
Step 1 — Prep the wall (this decides everything)
Peel-and-stick bonds best to a smooth wall in good condition, primed and painted in a satin or semi-gloss finish.[1] Avoid matte, flat and low-sheen paint, plus textured and exterior surfaces.[1] If you've just painted, let the paint cure fully first — cure time is far longer than dry time, so check the can (Angi suggests about a month for fresh primer and paint).[1][3]
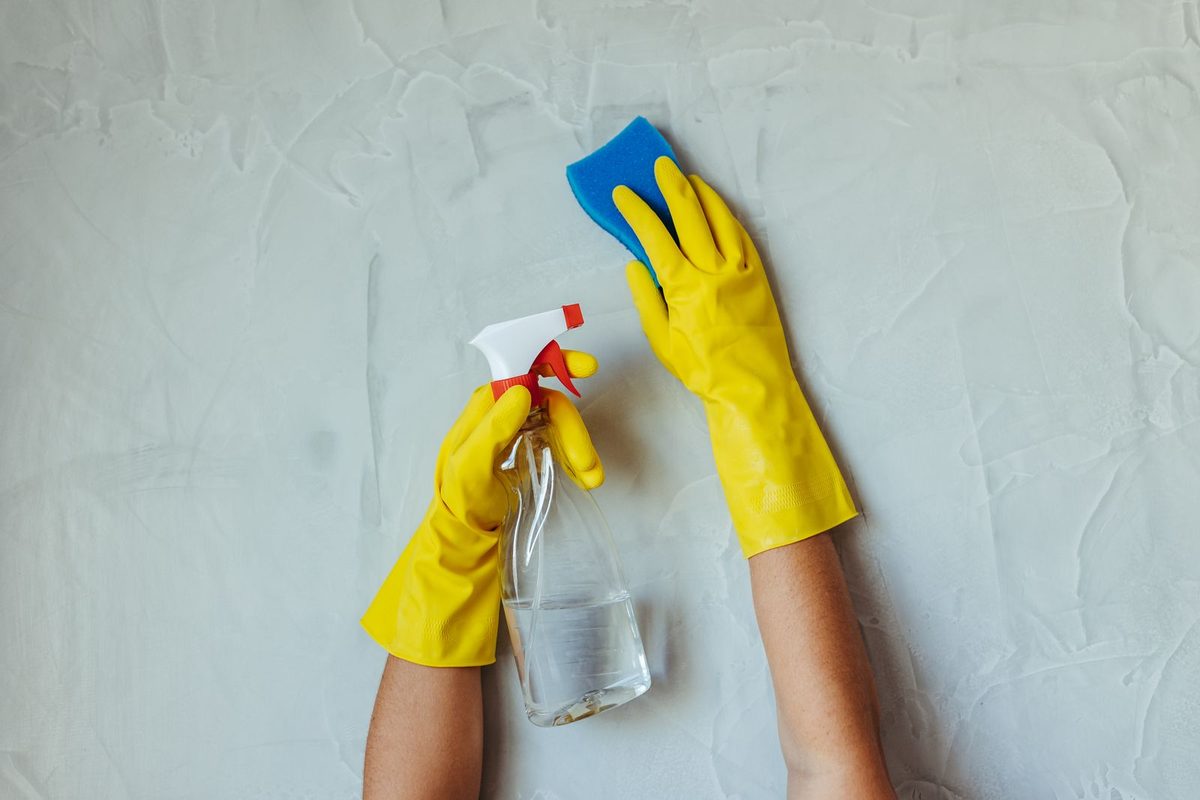
Clean the wall so nothing blocks the adhesive. Tempaper recommends wiping it down with a 1:1 mix of isopropyl alcohol and water, then letting it dry;[1] an all-purpose cleaner and a sponge work too.[2] Turn off the power and remove the outlet and switch covers before you start, and put them back before restoring power.[1]
Step 2 — Measure and snap a plumb line
Measure the wall's height and width to work out how many panels you need.[1] Walls and ceilings are rarely perfectly straight, so don't trust the corner — mark a point out from the corner equal to your roll width minus about half an inch, then use a level to draw a vertical plumb line there.[1] Hang your first panel to that line, and repeat the line at every corner and new wall.[1][2]
Step 3 — Hang the first panel from the top
Cut the first strip to the wall height plus 2–3 inches of overhang at the bottom.[1] If you're working off pre-cut panels, line up the pattern and number the back of each one first.[1] Peel back about 3–4 feet of the backing (12 inches is fine for your first try), line the top edge up with your plumb line, and press it to the wall.[1][2] Then smooth outward from the centre with the squeegee, working down in sections and pulling the backing as you go.[1] Because the film is repositionable, you can lift and realign it to fix the pattern or a bubble.[1]
Step 4 — Match the pattern and handle seams
Cut each following strip so its pattern lines up with the last, and overlap the previous strip by about ¼ inch rather than butting the edges.[2] In spots that see temperature swings, a slight overlap helps stop seams from splitting later.[1] Don't pull or stretch the paper while you apply it, or the pattern will distort and the seams won't meet.[1]
Step 5 — Beat the bubbles
The fix for a trapped bubble is simple: poke a tiny hole in the centre with a pin, press the air out through it, and smooth flat.[1][2] Keep smoothing from the centre toward the edges as you hang each section so air escapes instead of pooling in the middle.[2]
Step 6 — Trim the edges
Leave an overhang at the ceiling, baseboard, and around window and door frames, then trim flush with a sharp craft knife held against a straight edge.[1][2] A fresh blade gives a clean line; a dull one drags and tears. Reinstall the faceplates once the wall is done.[2]
FAQ
How do you apply peel-and-stick wallpaper without bubbles?
Start on a clean, smooth wall, hang from the top against a plumb line, and smooth from the centre outward with a squeegee as you peel the backing. For a trapped bubble, poke a tiny hole with a pin, press the air out, and smooth flat.
What walls does peel-and-stick wallpaper work on?
Smooth walls in good condition, primed and painted in a satin or semi-gloss finish. Avoid matte or flat paint, textured surfaces, and exterior walls.
How long should paint cure before wallpapering?
Let fresh paint cure fully, not just dry — check the paint can, as cure times vary. Angi suggests waiting about a month after new primer and paint.
Do you overlap or butt peel-and-stick wallpaper seams?
Overlap each strip about a quarter inch over the previous one and match the pattern. A slight overlap also helps stop seams splitting in areas with temperature changes.
Do you need a special adhesive for peel-and-stick wallpaper?
No. Peel-and-stick has its own adhesive backing and needs nothing extra. 'Unpasted' wallpaper is a different product that does require a separate adhesive.
Sources
- Tempaper — manufacturer install guide (surface finish, prep, plumb line, squeegee, releasing bubbles). tempaper.com
- Bob Vila — how to apply peel-and-stick wallpaper (smooth walls, cleaning, ¼-inch overlap, trimming). www.bobvila.com
- Angi — does peel-and-stick wallpaper damage walls — paint finishes, cure time, heat removal, residue. angi.com