Why Is My Peel-and-Stick Wallpaper Falling Off?
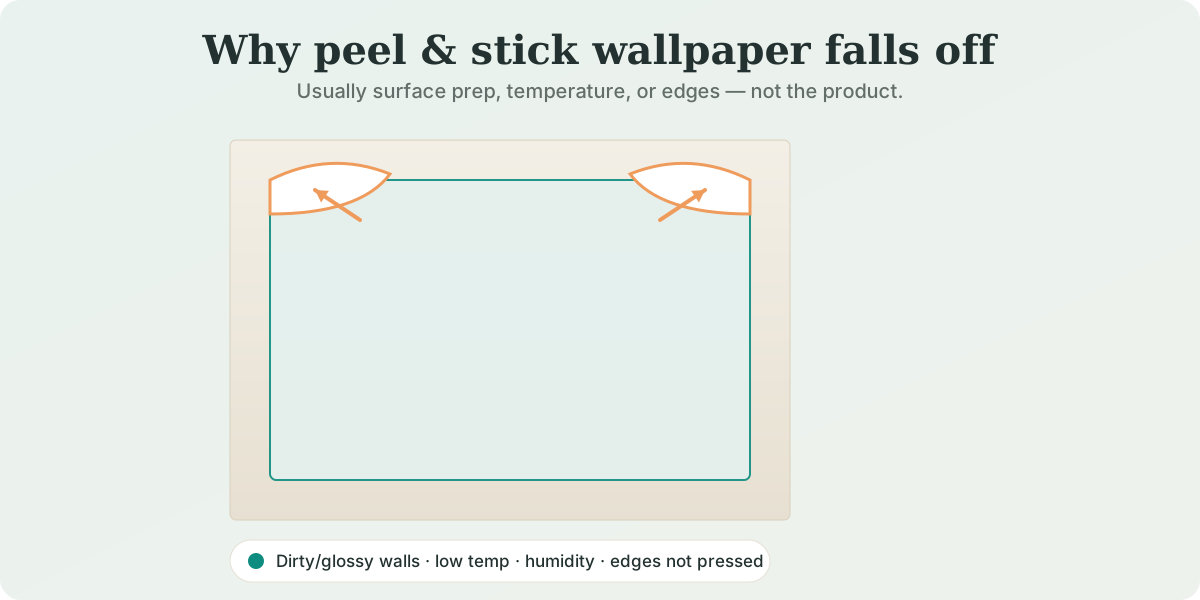
▲ Illustration — e.g. a seam or corner lifting away from the wall.
Peel-and-stick wallpaper usually starts falling because the adhesive cannot make a strong bond with the wall. The most common reasons are an unsuitable paint finish, dust or grease, wall texture, paint that has not fully cured, moisture, or problems during installation. Before replacing the wallpaper, identify where it is peeling and check the wall underneath — the location of the failure often points to the cause. Manufacturer instructions consistently emphasize proper surface preparation.
Diagnose the problem first
| What you see | Likely cause | What to check first |
|---|---|---|
| Edges keep lifting | Surface contamination or weak bond | Cleanliness and paint type |
| Whole panel slowly releases | Incompatible paint or wall texture | Paint finish + texture |
| Bubbles followed by peeling | Texture, trapped air, or installation | Surface + smoothing technique |
| Peeling on a newly painted wall | Paint may not have fully cured | Date the wall was painted |
| Problems mainly in bathroom/kitchen | Moisture/humidity may be contributing | Ventilation + product suitability |
| Only one section fails | Local dust, grease, moisture or surface defect | Inspect that area closely |
This is a diagnostic guide, not a universal rule: peel-and-stick products differ, so your wallpaper manufacturer's instructions should take priority.
1. Your wall may be too textured
Texture reduces the amount of surface available for the adhesive to contact.
Spoonflower recommends a smooth, non-textured surface,[1] while Wallshoppe says its removable wallpaper should not be installed on textured or stucco surfaces.[3] Tempaper is somewhat more permissive: it says some light orange-peel textures may work, but heavier texture can trap air and contribute to bubbling and peeling.[2]
What to do: If the texture is substantial, repeatedly pressing the wallpaper back down is unlikely to solve the underlying compatibility problem. Check your specific manufacturer's surface requirements before attempting another installation.
2. The paint underneath may be the problem
This is one of the easiest causes to overlook.
Several manufacturers prefer finishes with some sheen. Spoonflower lists eggshell, satin and semi-gloss as preferred and specifically warns against washable, scrubbable and no-VOC paints because they may prevent a strong bond.[1] Wallshoppe similarly warns about Teflon, stain-resistant and low-VOC paints.[3]
So a wall can look perfectly clean and smooth while still being chemically or physically unsuitable for a particular adhesive.
What to do: Find the paint can or determine the paint type if possible, then compare it with your wallpaper manufacturer's compatibility requirements.
3. The wall wasn't clean enough
A small amount of dust, grease or oil can interfere with adhesion.
Tempaper recommends cleaning the surface before installation and suggests a 1:1 isopropyl-alcohol/water solution for compatibility and removal of dust or debris.[2] Wallshoppe recommends 70%+ isopropyl alcohol,[3] while Spoonflower's current instructions use a diluted isopropyl-alcohol cleaning step and require the wall to dry completely.[1]
What to do: Follow the cleaning method specified by your wallpaper manufacturer. Don't reinstall onto a damp wall.
4. You installed it too soon after painting
"Dry to the touch" isn't necessarily the same as ready for peel-and-stick wallpaper.
Spoonflower requires recently painted walls to sit for at least 30 days before installation.[1] Tempaper tells users to allow paint to fully cure and to follow the paint manufacturer's curing instructions.[2]
What to do: If the wall was recently painted, check both the wallpaper and paint manufacturer's curing guidance before trying again.
5. Moisture or humidity may be weakening the installation
This matters especially in bathrooms, kitchens and other damp spaces.
Spoonflower advises against installation in high-moisture spaces for its peel-and-stick product and gives controlled temperature/humidity conditions for installation.[1]
That does not mean every peel-and-stick wallpaper is unsuitable for every bathroom. Product requirements vary.
What to do: Check whether your particular wallpaper is approved for the room, keep direct water away from it, and address persistent moisture or ventilation problems before reinstalling.
6. Installation technique can create weak spots
The backing should generally be removed gradually rather than all at once.
For example, Spoonflower instructs installers to expose about six inches initially, press from the center, then continue downward in small sections while smoothing air pockets with a squeegee or hard smoother. It also warns against stretching the panels.[1]
What to do: If the wall and paint are compatible, gently re-smoothing a recently installed section may help. But don't keep forcing down wallpaper if the underlying surface itself is incompatible.
Should you use glue or double-sided tape to stop peeling?
Not automatically.
We did not find manufacturer guidance in the sources reviewed for this article supporting ordinary double-sided tape or generic wallpaper seam glue as a universal repair for failing peel-and-stick wallpaper. Adding another adhesive can also change how a removable product behaves during future removal.
The safer order is: diagnose → correct the surface problem → follow the product manufacturer's repair/reinstallation guidance. Only add another adhesive when the manufacturer specifically permits it.
When should you remove it and start again?
Consider removing and reinstalling rather than repeatedly pressing it down when the failure is widespread, the wall is substantially textured, the paint is incompatible, the wall was recently painted, or moisture/contamination exists underneath.
If only a small area has lifted and the underlying wall is compatible, clean and prep as directed by the manufacturer and follow that brand's repositioning or repair instructions.
The overlooked question: what paint is on your wall?
Before buying another roll, answer these four questions:
- Is the wall smooth?
- What paint finish is it?
- How long ago was it painted?
- Is the surface completely clean and dry?
Those four checks eliminate many of the major adhesion problems identified across the manufacturer instructions reviewed for this guide.
What you may need
After diagnosing the cause — not before — you may need a lint-free cloth, the cleaning solution specified by your wallpaper manufacturer, a smoothing tool or squeegee, or suitable wall-preparation materials.
- Lint-free cloth
- Manufacturer-specified cleaning solution (e.g. isopropyl alcohol)
- Smoothing tool / squeegee
- Wall-preparation materials (primer, joint compound)
Affiliate disclosure: HowToApplyNow may earn a commission from qualifying purchases made through links on this page, at no additional cost to you. Products will only be added here once we've vetted the affiliate program and its content terms — and only when relevant to the repair described above.
FAQ
Why does my peel-and-stick wallpaper keep peeling at the edges?
Check surface cleanliness, paint compatibility and texture first. Edge lifting is a symptom; it doesn't identify a single universal cause.
Can I just glue peel-and-stick wallpaper back down?
Check the manufacturer's instructions first. The primary sources reviewed for this article do not establish generic wallpaper glue as a universal fix.
Can freshly painted walls cause wallpaper to fall?
They can contribute to problems if the paint hasn't reached the curing condition required by the wallpaper manufacturer. Spoonflower specifies at least 30 days, while Tempaper tells users to follow the paint's curing instructions.
Does peel-and-stick wallpaper work on textured walls?
It depends on both texture and product. Several manufacturers recommend smooth surfaces; Tempaper says some minor texture may work but does not guarantee adhesion on textured surfaces.
Should I clean the wall with alcohol first?
Some manufacturers specifically recommend an isopropyl-alcohol solution, but concentrations and instructions differ. Follow the instructions for the product you're installing.
Sources
Research-first: the primary live manufacturer sources verified for this guide are —
- Spoonflower — Peel-and-stick installation guide (smooth/clean/dry surface; eggshell/satin/semi-gloss preferred; avoid washable/scrubbable/no-VOC paints; 30-day cure after painting; high-moisture caution; 6-inch gradual application, don't stretch). support.spoonflower.com
- Tempaper — Installation guide & surface guidance (1:1 isopropyl-alcohol/water cleaning; allow paint to fully cure; light orange-peel texture may work, not guaranteed on texture). tempaper.com
- Wallshoppe — FAQ (smooth, clean, fully cured surface; not for textured/stucco; will not adhere to Teflon/stain-resistant/low-VOC paints; 70%+ isopropyl alcohol). wallshoppe.com/pages/faq
Where manufacturers differ (e.g. Tempaper on texture), the disagreement is shown rather than resolved. Sources last reviewed: August 2026.